Did you ever think you can start your own WordPress blog?
Ideatebox will teach you quickly to create your own WordPress blogs and that too in just 10 minutes!
Sounds Crazy? But its true!
First Of all, congratulations! As you have landed on to the right spot because in this article we will teach you exactly how do we create WordPress Blogs so easily and speedily.
WordPress is a fantastic way to launch a blog, plus we think blogs are pretty awesome!
Here is our guide for you to understand thoroughly the process of creating WordPress Blogs:
How to build a blog?
- Register Online hosting.
- Select a hosting package.
- Choose a Domain Name.
- Fill up your request for the hosting.
- Install WordPress.
- Sign in and write your blog post first.
Neither of the above mentioned measures involve in-depth technical expertise and we’ll teach you
how to set up a blog in detail throughout the whole process.
When you have your blog running, you will obviously be wanting to start blogging and potentially change its look/functionality. So, we will also teach you how to do change its appearance and theme.
But first, follow these:
- Write the first blog post using the WordPress Editor.
- Change how the WordPress blog looks by adding themes (we recommend OceanWP, since it can be fully customized).
- For functionality, you can use plugins.
You can easily learn creating WordPress blog as long as you know how to use social media sites such as Facebook and Instagram…We promise you!
Step 1:
- Purchase hosting and your domain name.
- To make your blog available to people around the world, calls for two things:
- Hosting – That’s the engine running your website. Every single website on the internet has a host driving it, even if you don’t see it.
- Domain – This is like the permanent address for your blog. This is basically the name of your website. You can purchase your hosting and domain at the same time – so you need not worry about the details right now. But before you can do that, you need to choose a WordPress.
- At the same time, you can buy your hosting and domain so you don’t have to think about the specifics as of now. Just pick up a WordPress before you can do that.
Step 2:
Install the free WordPress software.
Install the WordPress app using your hosting and
we know this may sound a little overwhelming – but we think you’ll be shocked at how simple WordPress is to use.
Go to the installed WordPress URL, and from there you can access your Dashboard.
Step 3:
Write your first blog post – you’ve earned it!
Bingo! Welcome to your own WordPress blog, you’re probably excited to publish!
Now, let’s learn the very easy process to write a blog post on your new website.
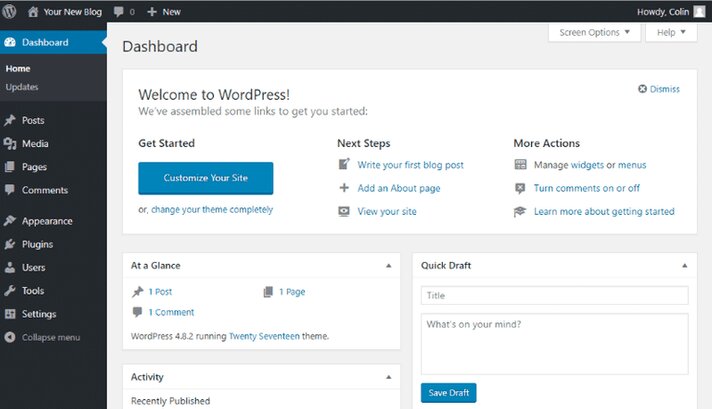
If you first log in to the WordPress dashboard on your blog, you will see a screen like this:
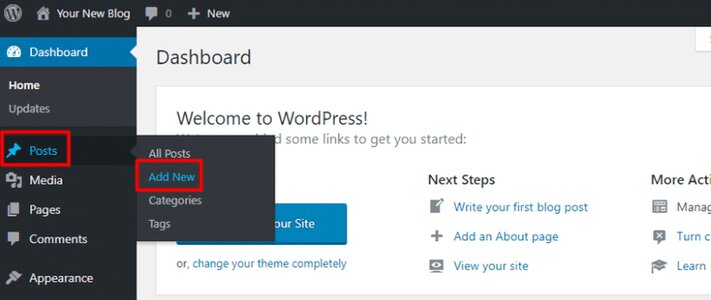
To write a blog post:
Select the ‘Posts’ button.
Click on Add New.
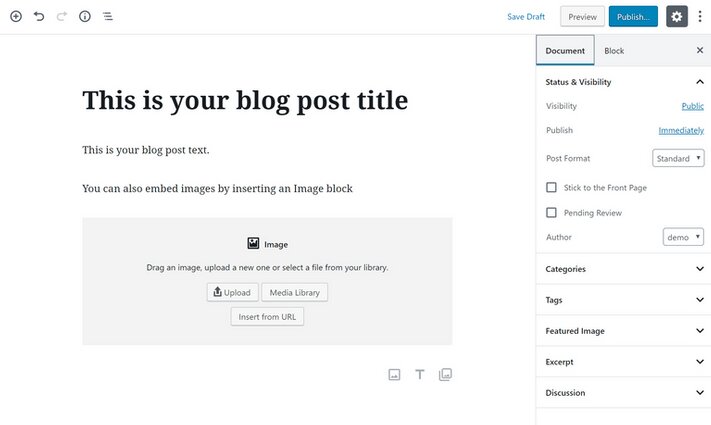
This launches the WordPress Editor, which allows you to write your blog posts using a fully intuitive block method.
Just click and type, to add text. With other content- you can add new lines like a picture or an embedded YouTube Video.
Step 4:
Here’s how the blog looks differently!
One of the big advantages you get when you create a WordPress blog is the exposure to the vast range of themes and plugins that WordPress has to offer.
Here’s a brief rundown of the two:
- Plugins – These adds functionality to your blog.
- Themes – These change the way your blog looks.
Within this section, we shall discuss the former. When you’ve built a WordPress blog, you already have a working theme. But there are actually thousands of themes available for WordPress, so you’re by no means limited to that small selection.
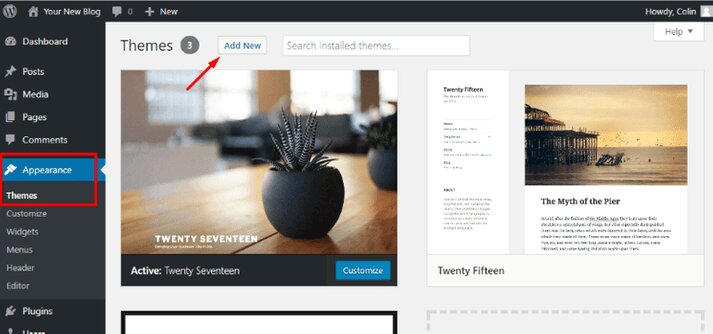
How to install a WordPress theme?
Once you’ve found a theme that you love, WordPress makes it easy to add that theme to your site.
Here’s how:
- Hover over Appearance
- Select Themes
- Click the Add New button
If you choose a free theme at WordPress.org, search for the theme by name and click Install.
If you have purchased a premium theme, click on the Upload Theme button and upload the ZIP file you should have received when you purchased the theme.
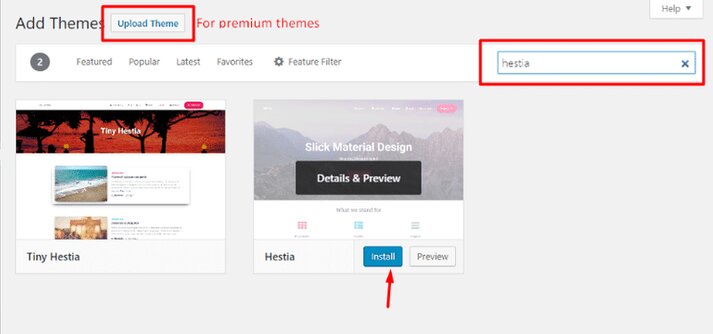
Be sure to press the Toggle button after you have enabled your theme to make it available on your screen.
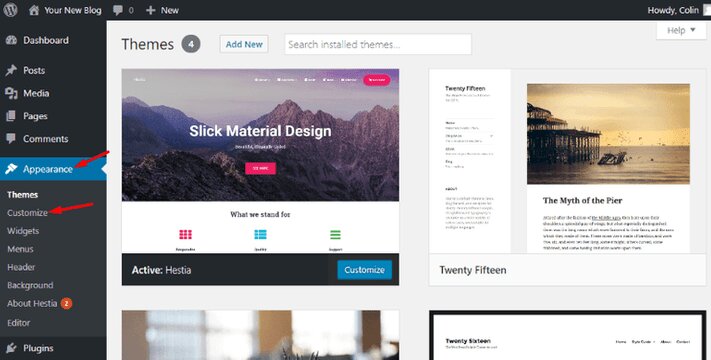
Now comes the question, how to customize your WordPress theme?
You can also use something called the WordPress Customizer to further customize your theme.
This GUI helps you to make some theme changes without having to learn the code. You can access it by going to Appearance → Customize:
You can have a different set of choices in the left sidebar, depending upon the theme that you selected. In general, though, you can:
- Make changes using the options on the left
- See a preview on the website on the right in real time
- Make your changes live by clicking Save & Publish.

Step 5:
Here’s how to add functionality to your blog!
Although the themes are mostly about looks, plugins concentrate more on helping you to add feature to your blog. You can only write blog posts and create pages when you first create a WordPress blog.
Plugins allow you to add more advanced features such as:
- Contact forms
- Social network buttons
- Backups
- Improved SEO
And lots, lots more!!
If you can think of a feature, there’s probably a plugin for it. That’s because the WordPress community offers over 50,000 free plugins, plus there are thousands of premium plugins.
Hopefully by this blog, you’ve managed to set up your website and get to learn how WordPress Blog can be used beneficially.
Good Luck!