(Mac + Linux + Windows) :–
4 Easy Steps:
Learning WordPress is fun. Anyone with the wish to try creating a site would surely be tempted to its ease of use. Not just you, millions of people around the world are dependent upon WordPress for their websites. That constitutes 35% of the total websites live at this moment
(src:https://www.whoishostingthis.com/compare/word press/stats/).
I am sure you are geared up to try WordPress more passionately than ever before. Without installing WordPress on your local computer, it is hardly possible. With that in mind, in this article, we will tell you how to install WordPress on localhost. So without further ado, here’s exactly how to install WordPress locally with XAMPP. At the end of this, you’ll have your very own local WordPress testing environment running on Windows.
IN A NUTSHELL:
If you have some technical background, you can skip the detailed steps in this tutorial. Here are the simplified steps on how to install WordPress on a local computer:
- Install and run a local server (Mac: ⦁ MAMP, PC(Windows): XAMPP or WAMP). Now, start Apache and MySQL from local server Control Panel.
- Download the latest version of WordPress from wordpress.org and extract the files to a new folder under the htdocs folder with the name of your desired website.
- Create a new database in localhost/phpmyadmin with the same folder name you want your website name to be.
- Open your browser and finish the WordPress installation.
And, Done!
Brief Steps:
Step 1:
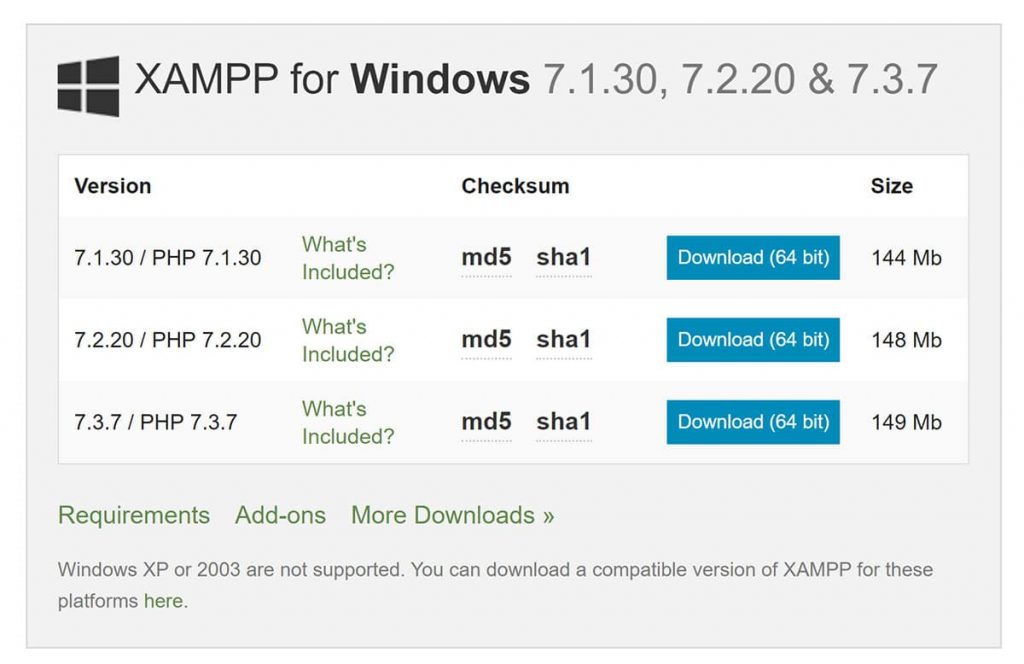
XAMPP is open-source software, and hence you can get it for free. As a cross-platform application, it is available (https://www.apachefriends.org/download.html) for the Windows, Linux, Mac, and Solaris (https://www.oracle.com/solaris/solaris11/) Operating Systems.
You can download from the window which will appear as:

You can download XAMPP with different versions of PHP for each Operating System. It comes with multiple add-ons (https://www.apachefriends.org/add-ons.html) that let you install popular applications on top of XAMPP — we will speak about them later in the article.
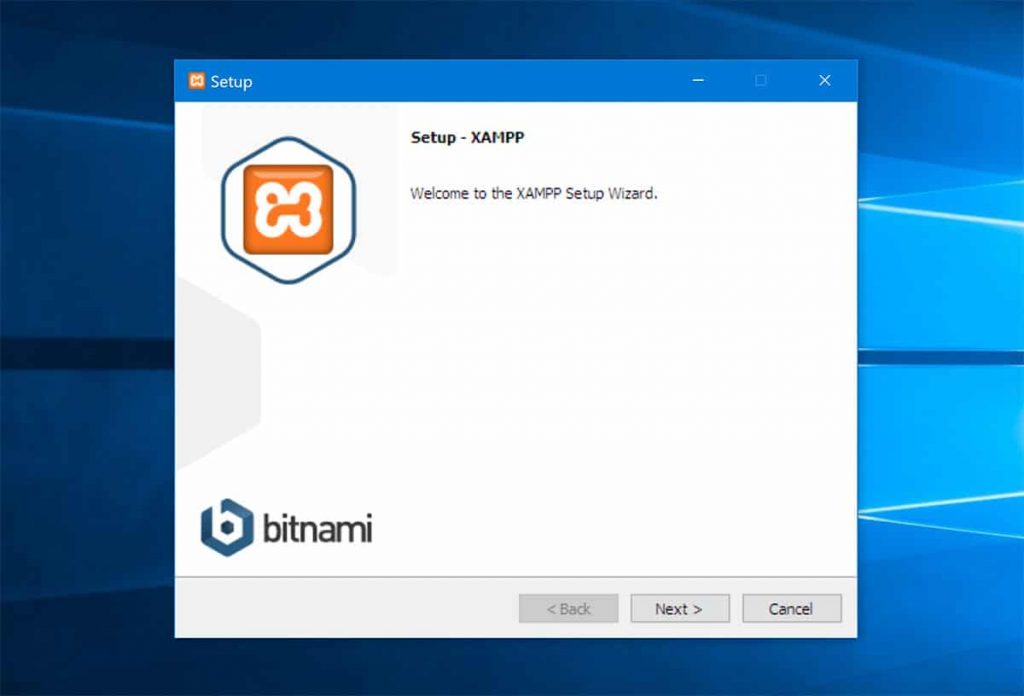
This tutorial is made by using a windows laptop. Since, the process
is the same for Linux, Mac, and Solaris users; although the layout of the control panel varies by the operating system. Run the downloaded file and the next screen will appear as:-
In the next step, you need to select the server and program language components you want to install. All components are selected by default.

Now, you need to define the location of the installation folder where XAMPP will be installed.

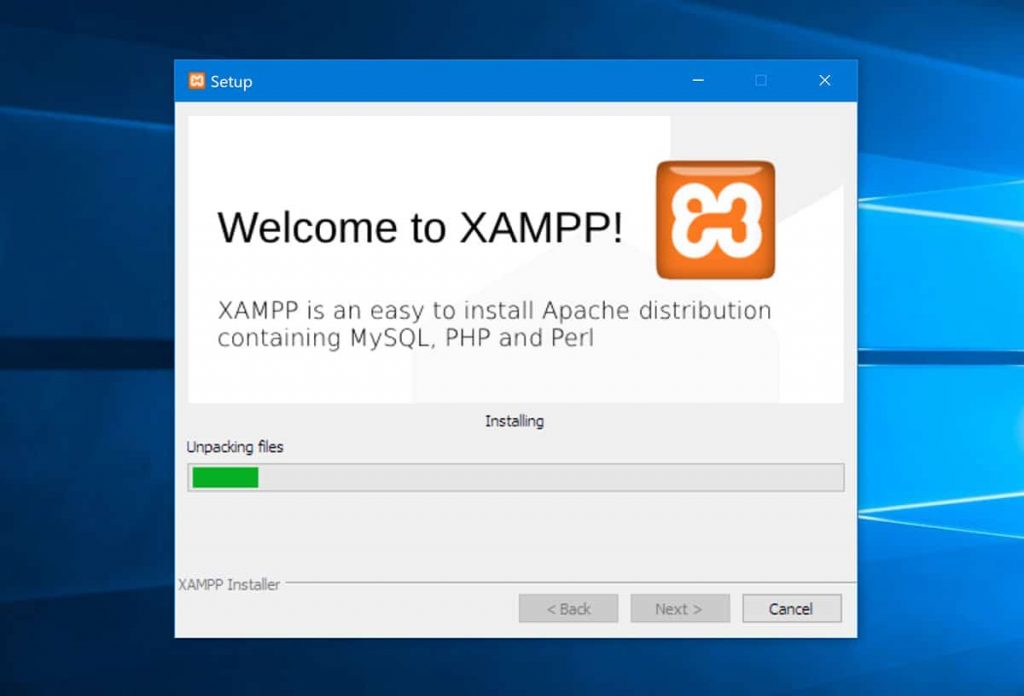
Once you have completed the configuration steps, you can begin to install XAMPP.
It only takes a minute for XAMPP to unpack all files and install them on your computer.
Congratulations! XAMPP has now been installed! Now, you can start the XAMPP control panel in your system.

To install and access XAMPP and WordPress properly in localhost, you’ll need to run two modules:
⦁ Apache
⦁ My SQL
You can start both modules from the XAMPP(or the one you’re using) control panel:

Step 2:
Download WordPress – WordPress can be downloaded directly from https://wordpress.org/download/. After downloading the installer, extract the ZIP file to unpack the WordPress folder.
Next, go to the htdocs folder within your main XAMPP installation folder. In Windows, if you did not change the location of the XAMPP installation folder during setup, the htdocs folder will be located at C:\xampp\htdocs\. Create a new folder for your local WordPress site within this folder. I called mine mylocalwordpress, but you can use any name you like or the name of your website. You need to copy the contents of the WordPress folder you extracted from the ZIP file into this new folder. In my case, it’s C:\xampp\htdocs\mylocalwordpress\.

Step 3:
Create New database for WordPress in phpmyadmin – For that, you need to create a MySQL database for your WordPress install. To do that, go to localhost/phpmyadmin. A screen will appear as:

Then click on Databases at the top. And enter a name for your database and click Create. Your name should be same as the folder name as you created a new folder in C:/xampp/htdocs, which will be your website name – just remember it because you’ll need it for the next step:

Step 4:
Open in the browser as localhost/mylocalwordpress and finish the WordPress installation –
In the first step, you can select your website language from the dozens WordPress has been translated into.

Now, you need to enter your database connection details. The only step where this process will differ from a normal install is the database details. When you get to the database details window, enter them like this:
⦁ Database Name = Name of the database you created in PHPMyAdmin(same as the folder name in C:/xampp/htdocs)
⦁ Username = “root”
⦁ Password = leave blank

Here the WordPress installation for Linux OS is slightly different. The Linux users need to perform just a few more steps than other OS users.
Now, they will provide you with the code. Just copy the code:

Create a notepad file at the Desktop. Name it as wp-config.php and paste the code in it.
We have to move the notepad file to the wordpress folder which is present in xampp/htdocs.
Since the wordpress folder is only readable that’s why we are unable to paste it directly.
We have to make the folder read and writable, to do so type the following command in terminal.

cd /opt/xampp/htdocs (this code changes the directory to htdocs)
sudo chmod -R 77 /opt/lampp/htdocs/mylocwordpress (it makes the components of the folder read and writeable)
In the end, paste the notepad file (wp-config.php) in the wordpress folder.
src:https://squarenoid.com/how-to-install-wordpress-on-linux/
Next, you are asked to run the WordPress installation wizard. You can now enter the name of your new WordPress website, your administrator username and password, and your email address. This page also has an option to discourage search engines from indexing your website(though that is not applicable now since your website is offline or it is in localhost). When you are ready, click the “Install WordPress” button.
WordPress has now been installed on your computer and you can log in to your new website using the credentials which you entered earlier in the previous window. The Bitnami WordPress installation wizard directed you to the front-end of your website. The manual WordPress installation procedure will, instead, take you to the admin login page so that you can enter your WordPress admin area at http://localhost/yourwebsitename/wp-admin/.
You can now start using your local WordPress website.
Final Thoughts:
I hope this tutorial will help you to create a local WordPress website on your computer using XAMPP. A local WordPress website is something which WordPress users can use for testing, website staging, development, and more. It is worth noting that some applications, such as Skype, can conflict with XAMPP because Apache uses port 80. You will find tutorials online on how to resolve this issue, though if you do face this issue, it is normally quicker to uninstall XAMPP and install it again.
GOOD LUCK
src:
https://themeisle.com/blog/install-xampp-and-wordpress-locally/
https://wedevs.com/166974/how-to-install-wordpress-on-localhost/