Introduction
Welcome to the flutter blog, an amazing open-source UI software development kit, created by Google. We will see what are the types of widgets and related usages available in Flutter.
So, let’s get started! In this blog, I will show you what is the difference between Stateful and Stateless Widget. As we know in Flutter all the UI components which are appearing on the screen, are known as widgets. The widgets are of two types –
- Stateless Widgets
- Stateful Widgets
- Stateless Widgets
Stateless widgets are immutable, they do not require a mutable(meaning: liable to change) state. In other words, Stateless widgets cannot change their state during the runtime of the app. Here is the example of a Stateless widget which looks like this:
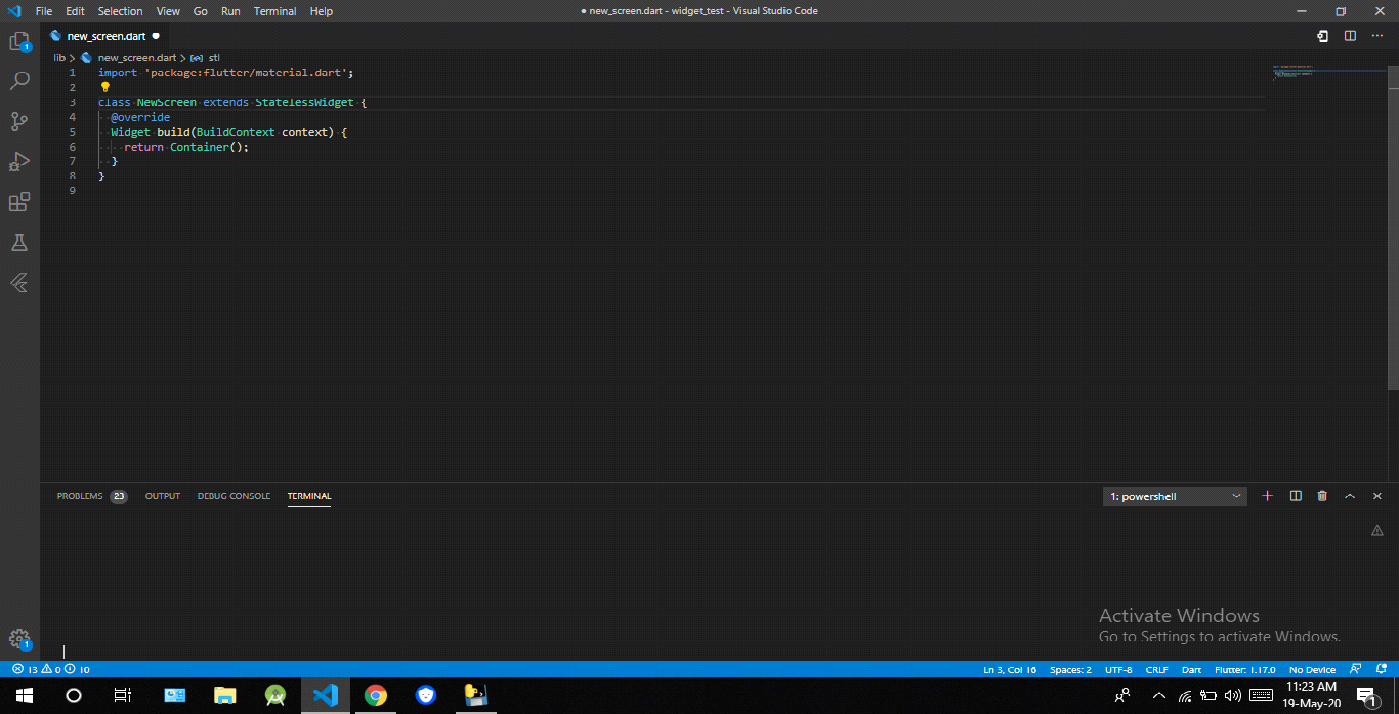
So, let’s understand what is there in this small code fragment.
The name of this Stateless Widget is “NewScreen”, in which we have to override the “build” method. This build method takes in a “BuildContext” as the parameter and returns a widget. That is why you can see that the return type of the build method is a widget and this is the place where you can design the UI of this screen; which is Stateless.
In Stateless widget, The “build” method can be applied only once while the app is in action, and hence, is responsible for drawing the widgets onto the device screen. If you want to redraw the Stateless Widget, then you will need to create a new instance of the widget.
TIPS: You can quickly build a Stateless Widget in VS Code or Android Studio by using the shortcut “stl”.

Some examples of Stateless widgets are as follows:

Now, let’s move on to the Stateful Widget.
2. Stateful Widget
Stateful widgets have a mutable state, i.e., they are mutable and can be drawn multiple times within its lifetime. They are the widgets that can change their state multiple times and can be redrawn on to the screen any number of times while the app is in action. The structure of a Stateful widget looks like this:
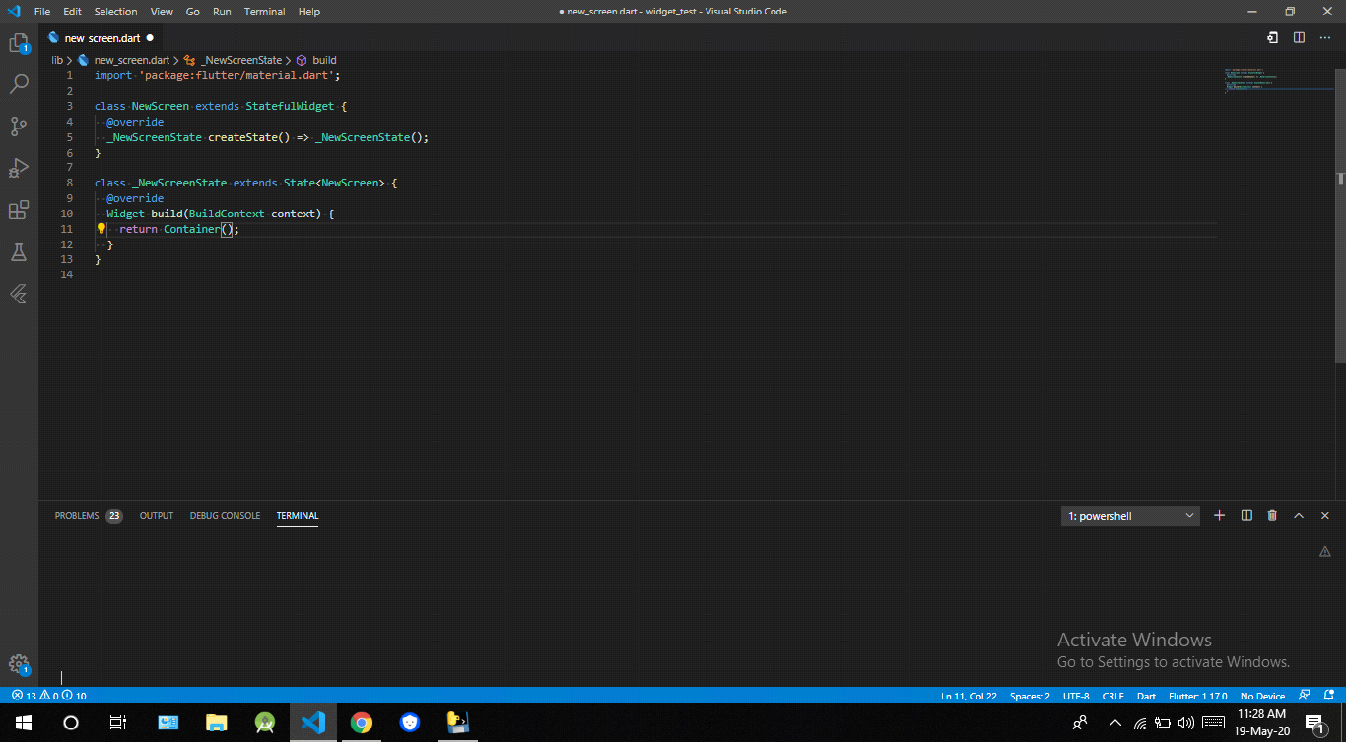
The name of the widget is again “NewScreen”, but now it overrides the “createState” method, instead of the “build” method, which returns the instance of the class “_NewScreenState”.
The class “_NewScreenState” extends from State<> which takes “NewScreen” as a template input.
Now, this “_NewScreenState” overrides the “build” method and returns a widget. This is where you can define the UI of the app, which is Stateful. As it is a Stateful widget you can call the build method any number of times, which will redraw the widgets on the screen.
So, how can you call the build method?
It’s really easy, you can use the “setState” method to call the build method, which will, in turn, redraw the widgets. This is the most important method you will need to use with any Stateful widget, to really use the statefulness of the widget.
TIPS: You can quickly build a Stateful Widget in VS Code or Android Studio by using the shortcut “stf”.

Some examples of Stateful widgets are as follows:

Conclusion
I hope you all now have a basic idea of Stateful and Stateless widgets, and how do they differ from each other. These concepts would be more clear if you do some projects on your own and get the feel of how the app handles the state.
Not to worry, as we will keep updating you with the Flutter updates every week. Till then, keep learning about other technologies from Ideatebox Blogspot.